Your Bag (0)
Spend $500.00 more for Free Delivery
Don't miss out


Classic Beanie
$49.00
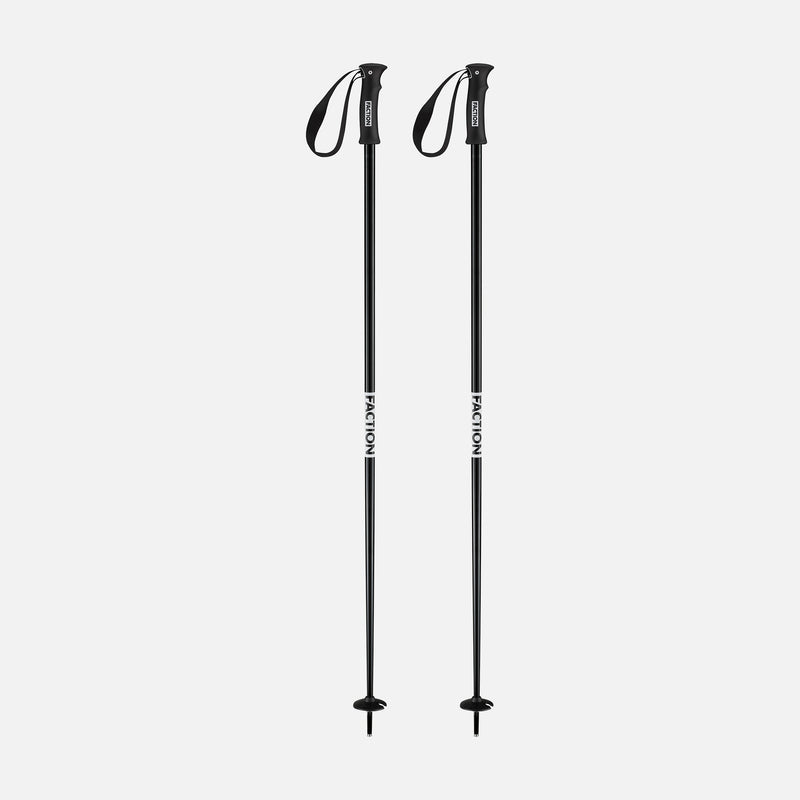

Dancer Poles Black
$69.00